Okay, I couldn't resist that title...This post is mostly about masks and less about the men (or women) who wear them.
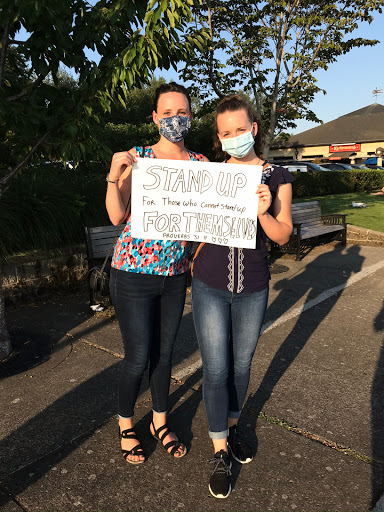
With the COVID-19 pandemic still in mighty swing, the "new normal" is looking to be the "permanent" normal, at least for the foreseeable future. The office is still operating with many staff working from home, but my department has most of its staff coming in on alternating days. Masks are required whenever we leave our workstations or when someone is fewer than 6 feet from us. Now that I'm in the office 2-3 days per week, I saw the need to have a number of masks for myself, and was also inspired to make masks for my family.
Being a very novice seamstress (I had a sewing class like 12 years ago and have made like 3 simple quilts since then), I wanted to find a pattern that wasn't too complicated but that also produced a quality and comfortable mask. Let's just say it took a while to find a decent pattern.
Beginning masks attempts. The black one (my very first) actually turned out okay (albeit not quite what I wanted), but the sewing machine needle broke so it was almost entirely by hand, so the stitching isn't the neatest. The larger orange one I have named "The Duck Mask" (you'd know why if you tried it on). The blue one was just weird, in addition to the straps being too short despite following the pattern.
After 4 masks, I asked my coworker to share her pattern for masks that have a ribbon ear strap that a wearer can adjust. While I've since better "perfected" my pattern and the steps I take, here are enough details for any other eager novice seamstresses to come up with a nice, breathable, and fairly quick mask.
Supplies: rotary cutter, scissors, pins, one 8" x 14" piece of fabric (8" x 15" if you are not cutting on the fold/using two different pieces of fabric), two 2" x 6" strips of fabric, 1/2 of a pipe cleaner, and two 16" pieces of ribbon.
NOTE: Press well after each step and after prepping each pleat!
Step 1: Anchor the Nose Piece. Zig-zag stitch a half piece of pipe cleaner (cut in half and then folded in half and twisted together a bit) to the top of the 8" side of your large piece of fabric. All this is doing is anchoring the little nose piece (if you don't care about a nose piece, ignore this step).
Step 2: Sew the Mask Body. Sew the entire mask together, right sides together, leaving about a 2 inch hole along one of the sides so you can then turn it right-side out. Clip the sharp corners. Turn right side out and press the edges.
(picture of the hole showing here, from a different mask I made)
Step 3. Create Pleats. These are a pain to do, but it's important they're as even as possible. Also, be sure the pleats on the front of the mast are facing down. Make the pleats one inch apart and one inch tall (see video attempting to describe the pleats).
Step 4: Sewing Pleats Together. Sew around the sides and top of the mask to hold the pleats together, ensuring that when you come to the nose piece, you sew below the nose piece while also NOT sewing the back of the first pleat down to the top of the mask.(avoid sewing the top of the first pleat when you're sewing beneath the nose piece)
Step 5: Preparing and Sewing the Ribbon Casing. Sew the 6" strips to each side of the mask, folding over and stitching the tops of each casing before sewing to the sides of the mask (see below and videos).
(sewing the top edge of the casing before stitching onto mask body( stitch to the front side of the mask))
(sew to mask body and press thoroughly)
(fold ribbon casing edge and press it down; then, pull it over to the front side of the mask)
(sew the remaining side of the casing to the back side of the mask, keeping pretty close to the edge (see where my needle/pressure foot is positioned)).
Step 6: Finishing Touches. You've got your mask, minus the ribbons! Cut enough ribbon to go through the casing you created on each side plus excess to adjust the size of the mask (I think I use about 16 inches for each side). Then, using small screw driver or a wood skewer, bring the ribbon through the casing on each side. After you've tied the ribbons to enable the mask to fit your face, you can hide them by tugging them through the casing.
(hiding the ribbon edges)
Here are pictures of the finished product.
My grandpa and I, sporting our new masks (I call mine the Black Mumba). When I showed him how to hide the ribbons in the casing after adjusting the size, he proclaimed "Why would I do that? Than no one would know it was home-made!" Also, he's one of the manliest and toughest people I know, but he couldn't be more pleased with his goats. :)